AWS RDS setup
Sign into your AWS console
Firewall (Security Groups) setup
We will first define a firewall rule so the approved Dalgo or organisation IP allowlist can access the database you are about to create.
https://console.aws.amazon.com/ec2/home#CreateSecurityGroup
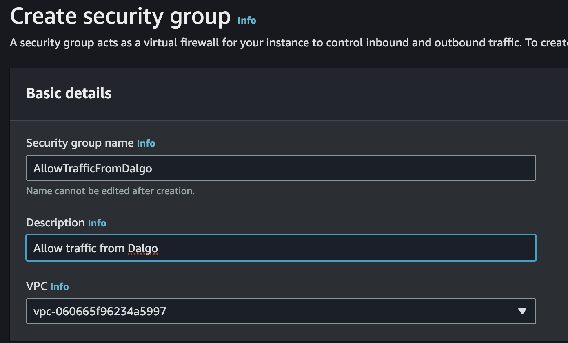
Basic Details
Start by naming your new security group
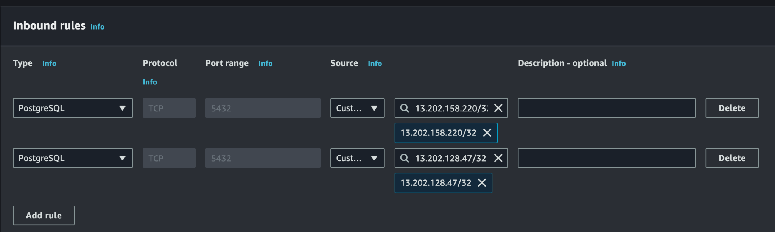
Inbound rules
Next define inbound rules allowing PostgreSQL traffic on port 5432 from the approved IP allowlist for your environment. If Dalgo or your infrastructure team provides a current allowlist, use that rather than copying old IP addresses from an outdated guide.
Leave the Outbound rules and Tags as they are and click “Create security group”. Make a note of the name you chose above; we will use it later.
RDS Setup
Now navigate to RDS
https://console.aws.amazon.com/rds/home
Look for and click the “Create Database” button

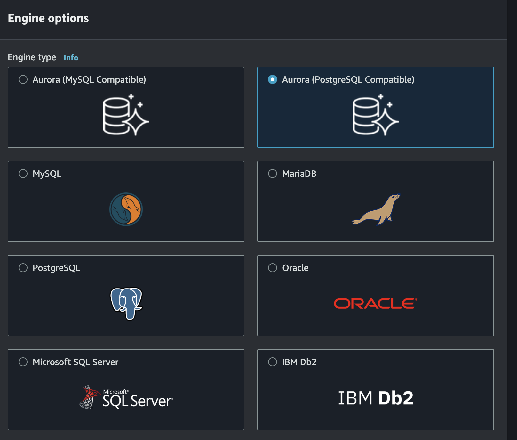
Engine
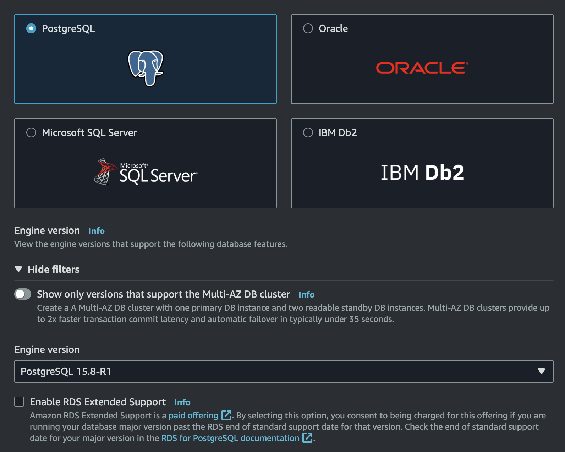
Choose Postgres as your engine
Use a currently supported PostgreSQL version that has been approved for your environment.
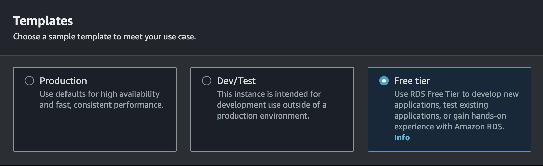
Templates
Choose the template that matches your environment. For lightweight test setups, a free-tier or similarly small template can be a sensible starting point when available.
Availability and Durability
Leave it pre-selected to “Single DB Instance”
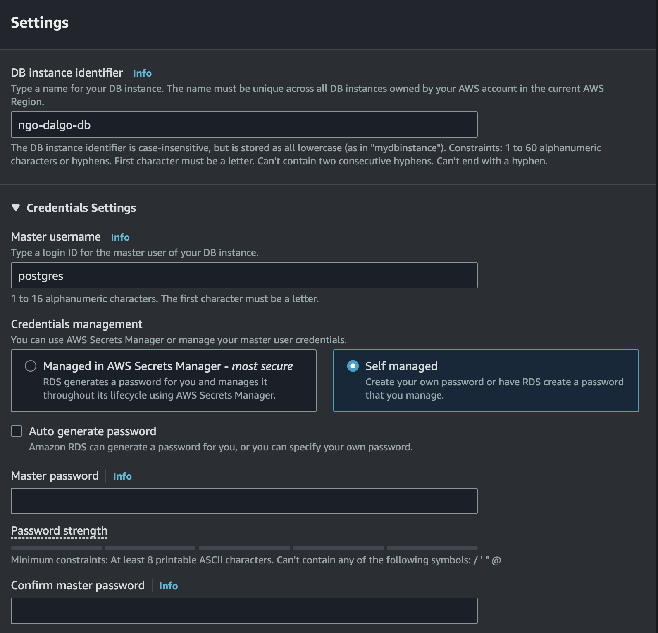
Settings
Under Settings, choose a name for your database instance. Use a master username that fits your team standard, then either set a password yourself or let AWS generate one for you. Store the final credentials in Vaultwarden or your approved secret store.
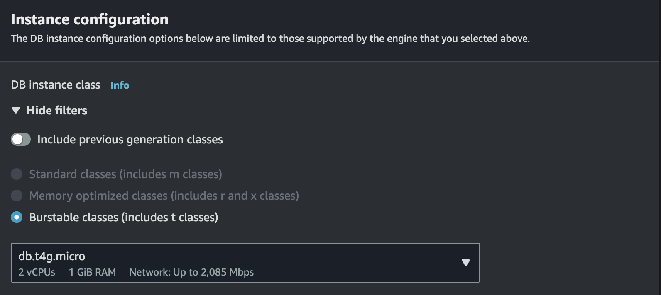
Instance configuration
Next choose the instance type, including the RAM and CPU allocation for the database instance. Smaller classes can work well for lightweight or test environments, but size this based on your expected workload.
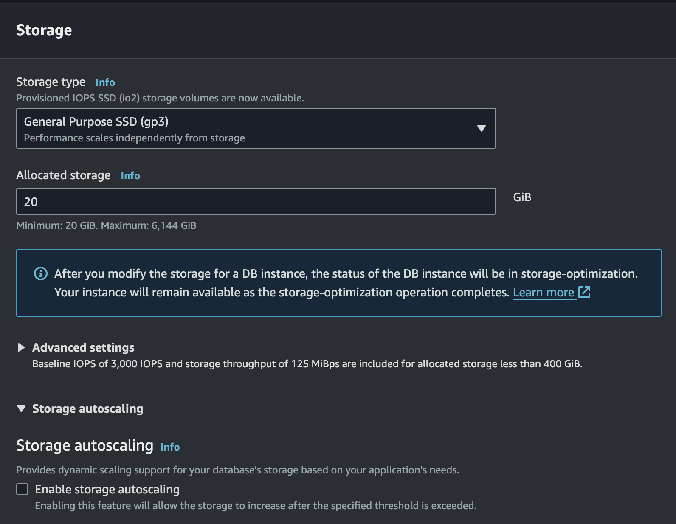
Storage
Now allocate storage for the database. A smaller starting size can be fine for test environments, but review autoscaling, retention, and cost controls before you create the instance.
Connectivity
This is the most complicated section. The first few settings will remain unchanged
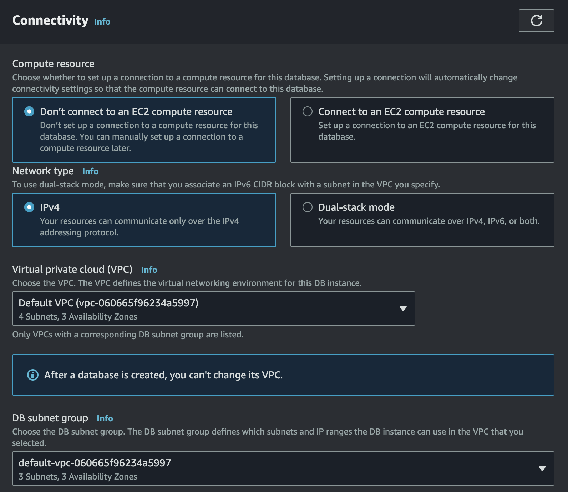
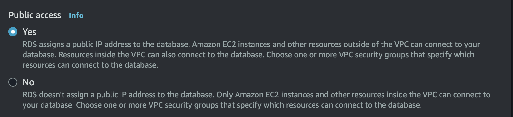
Enable public access only if your access pattern depends on IP allowlisting. If your organisation uses private networking or a bastion flow instead, follow that standard.
VPC Security groups

Add the security group created earlier; you will end up with “default” as well as your new security group listed here.
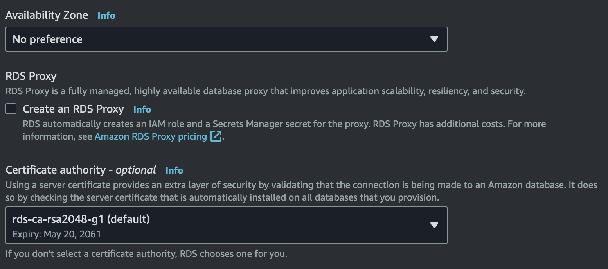
The remaining settings can be left unchanged
Tags
Leave unchanged
Database authentication
Leave set to “Password authentication”
Monitoring
Review Performance Insights and the rest of the monitoring options based on your support and cost requirements.
Review and Create
Have a look over your settings and then click the Create Database button
